Using the Coordinate plotter
To add a known coordinate location to your map, follow these simple steps:
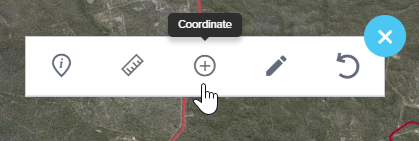
- Select the Coordinate Plotter Icon: You'll find this icon in the Toolbar menu. Please note that this tool is available in 2D and 3D mode, but not in 360 mode.
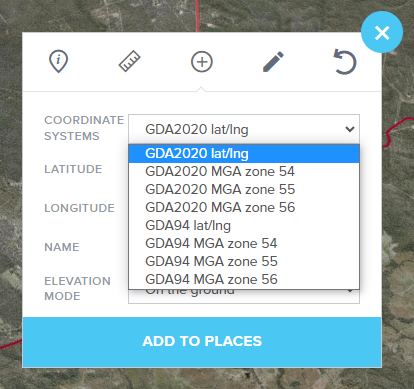
- Choose the Appropriate Coordinate System: From the drop-down list, select the coordinate system that matches your input data.
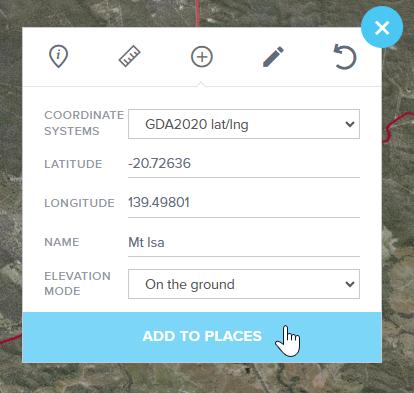
- Enter Coordinate Values: Input your coordinate values into the provided fields.
- Name Your Point (Optional): If you wish, give the point a name in the name field. If you leave it blank, the place will be named using the coordinate value itself.
- Choose an Elevation mode: Select an elevation mode option from the drop-down menu. This determines how the point will be positioned vertically.
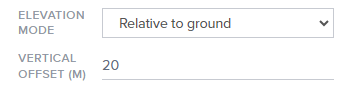
- Vertical offset (m): For all elevation modes (except for On the ground), enter a value to define the height of the point relative to the chosen elevation mode.
- Add to Places: Once you're ready to proceed, click the Add to Places button. Your point will be drawn on the map and added to your Places.
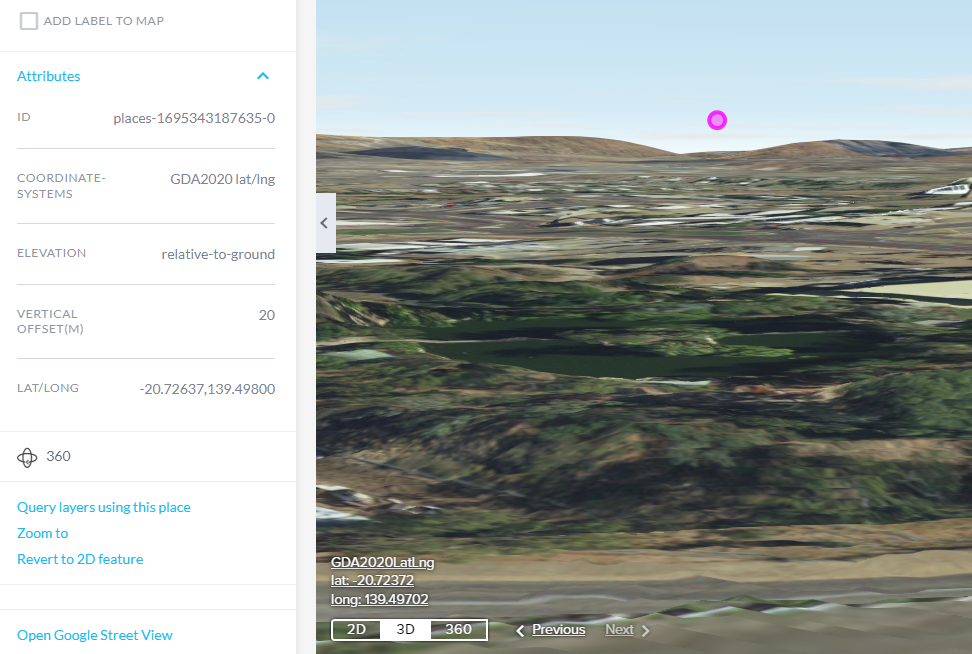
After adding the point as a Place, you can continue to customize and interact with it in various ways, such as changing symbology, adding labels, or accessing Google Street View.
When a place is added using the Coordinate Tool, the attributes displayed will reflect the coordinate system specified through the tool. This ensures that the attributes align with the settings you selected during the addition process.
All coordinates added to Places can be downloaded to SHP, KML, JSON or CSV by selecting the Download button and download your file type of choice.
Elevation modes
Elevation modes are used to define the vertical position or elevation of features within a 3D spatial environment. The four elevation modes available in the Coordinate tool are On the ground, Relative to ground, Relative to scene, and Absolute height (Relative to sea level). Here's an explanation of the differences between them:
- On the ground
- Features are placed on the ground. If viewed in 3D or 360 mode these coordinates will drape on the terrain. No vertical offset option will appear when this elevation mode is chosen.
- Relative to ground
- Features with the Relative to ground elevation mode specified are positioned with respect to the elevation of the underlying terrain or ground surface.
- Relative to scene
- Relative to scene elevation mode positions features based on a fixed, global reference point within the 3D scene, independent of the terrain or ground surface.
- Absolute Height (Relative to sea level)
- Features with an absolute-height elevation mode have a fixed elevation value relative to a specified coordinate system, often measured from sea level or another fixed reference point.
Each mode serves a different purpose, from adapting to changing terrain to maintaining a fixed global reference. Understanding these modes allows you to accurately position features within a 3D environment based on their intended behaviour and interaction with elevation data.
Coordinate system options
The coordinate system options within the coordinate plotter tool include:
- GDA2020 lat/long
- GDA2020 MGA zone 54
- GDA2020 MGA zone 55
- GDA2020 MGA zone 56
- GDA94 lat/long
- GDA94 MGA zone 54
- GDA94 MGA zone 55
- GDA94 MGA zone 56
Add a coordinate using the Search options
Coordinates can be also be added to a map by conducting a Search. Coordinates added via this method will automatically be added in GDA2020.
Select Search from the sidebar.
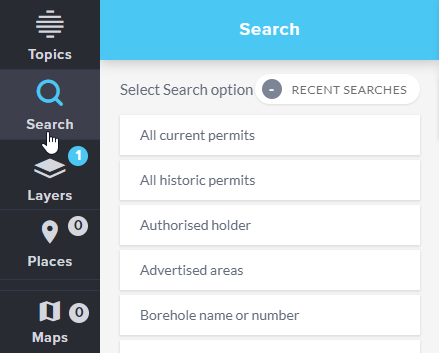
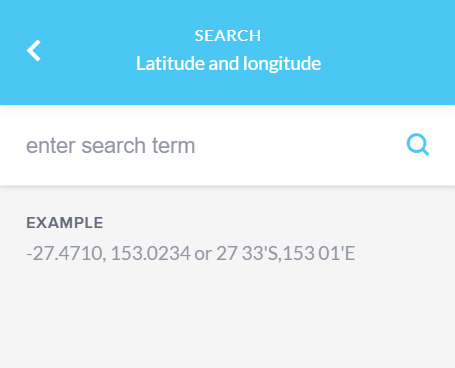
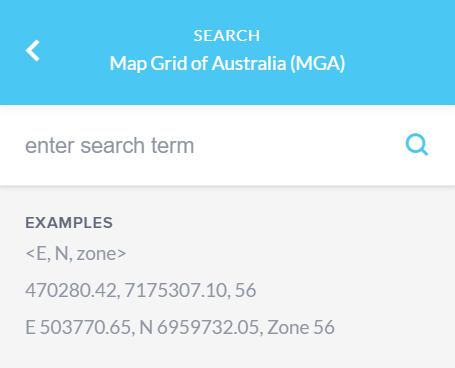
You may need to scroll down to view all of the options available in the Search tool. The last two options allow you to search by Latitude and Longitude or by Map Grid of Australia (MGA).
Examples are provided to demonstrate the expected format for your search term.
When you have conducted a search, the result will be displayed in the search panel. Clicking on the white box that contains the result will zoom to and highlight that location on the map.
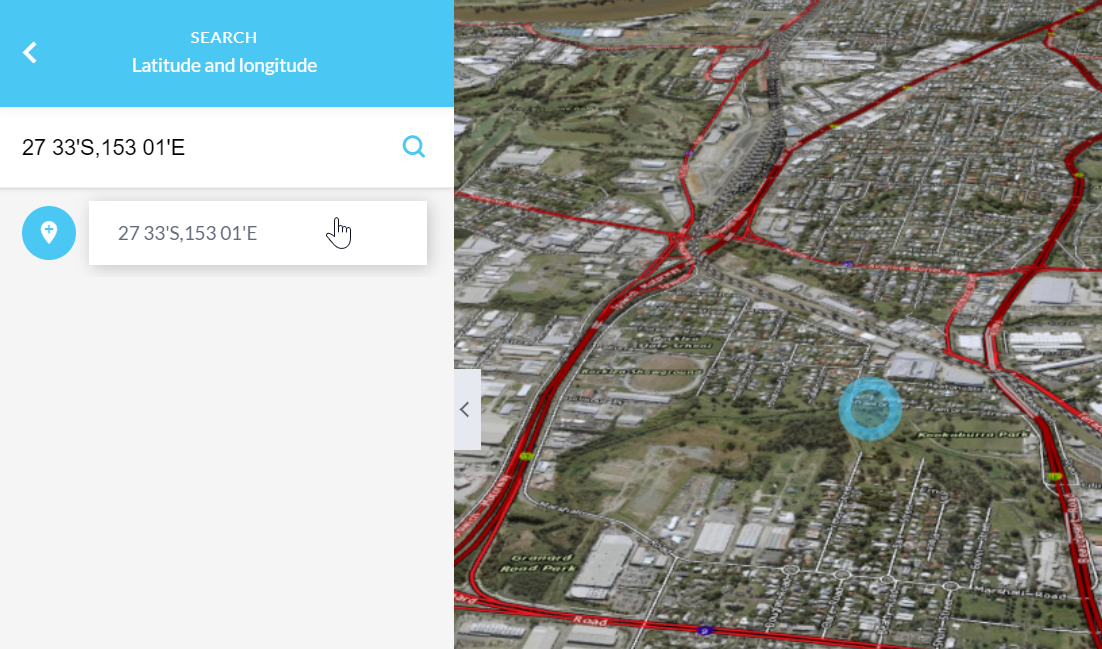
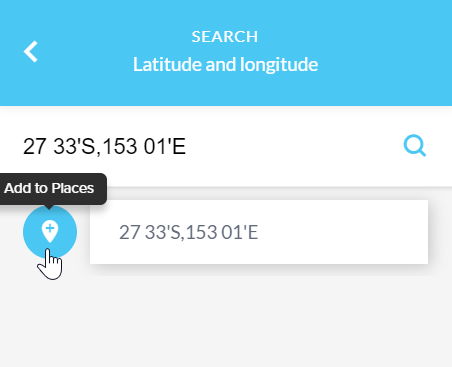
Selecting the blue icon will add it to Places, where it can be downloaded to various formats or saved to a map for later use.
Coordinate toggle
You may wish to obtain coordinates for features that you can see on your map, such as the corner posts of a Mining Claim. Coordinates can be observed on-screen in the bottom left corner of the map view at your current cursor position. For mobile and tablet devices tap on the screen to display the coordinate value at the point specified.
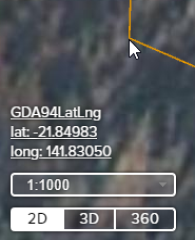
As you move your cursor around the map, the coordinate value will update accordingly.
By default the coordinate will display in decimal degrees in GDA2020 Lat/Long.
Clicking on this value will allow you to toggle to view the location of the cursor in the following formats:
Accuracy of coordinates and measurements
GeoResGlobe utilises the Web Mercator map projection. This projection is the most commonly used coordinate system in web applications to show world extents. Its strength is that it preserves direction and the shape of data, however the downside is it distorts distance and area.
The on screen coordinates only provide an estimate of the coordinates at the mouse point, they are not designed to provide an exact location. The use of the GeoResGlobe for the purposes of precise locations and measurement is not advised. Please refer to the Disclaimer notice on the welcome page for further details.