Identify tool
The Identify tool can be used for querying a layer based on a defined point, line or shape as an alternate means of viewing layer attributes.
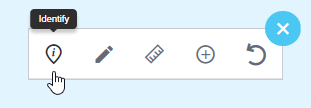
To access the tool, expand the toolbar and select the Identify icon.
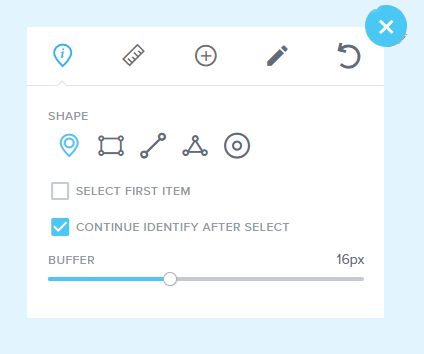
Select the checkbox options that are fit for your purpose.
| Option | What does this option do if selected? |
|---|---|
 |
The Attributes panel will be automatically displayed and the identify tool panel will close. The < and > arrows in the attribute panel to display the attributes for each of the features identified. |
 |
This option is selected by default. If only this option is selected, the layers that have been identified by the defined shape are listed in the layers panel with the number of features returned for each layer. The Identify tool panel remains open and you can identify another selection. |
 |
If both options are selected, the attributes of the first identified feature are displayed in the Attributes panel. The Identify tool remains open allowing you to conduct another identify selection. |
 |
If both options are unselected, the layers that have been identified by the defined shape are listed in the Layers panel with the number of features returned for each layer. The attributes do not automatically display and the Identify tool panel is closed. |
Query layer attributes
An attribute query can be run on most layers in the application.
To run an attribute query on a layer, ensure it has been added to you map and is visible.
We’ll use Boreholes Coal for this example.
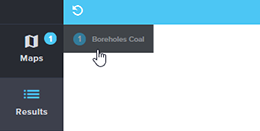
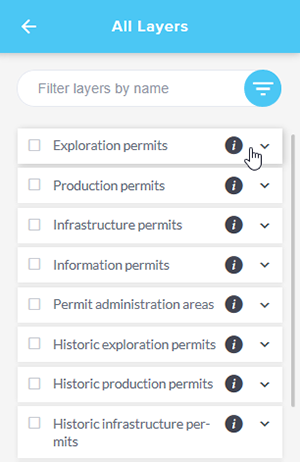
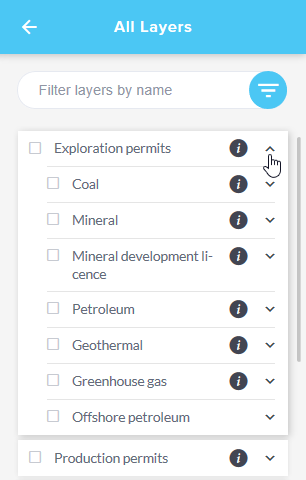
Once your layer has been added, locate it in the layers panel, either by expanding the layer groups

or by entering a filter term.
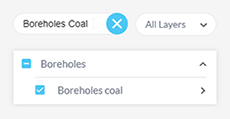
Then click the arrow to the right of the layer name to reveal the Attribute Query panel.

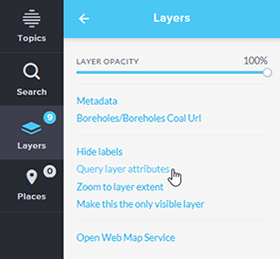
Click on Query layer attributes
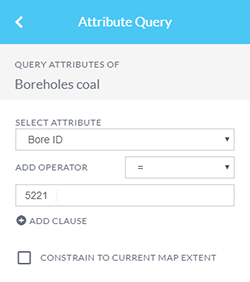
Enter a query of your choice.
There are many variables to choose from, depending on your layer and the fields it contains.
We’ll use a simple query for this example, Bore ID = 5221
Click on Query Layer

Review the query outputs in the Results table
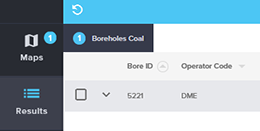
For further information on interacting with the results table, refer to the Searching and querying tutorial video.
Using Wildcards with the LIKE Operator
Wildcards are special symbols that stand in for unknown characters or groups of characters in search queries or data analysis tasks. They can be used to simplify the search process, especially when you're looking for data that meets certain criteria, but the exact values aren't known.
Wildcards such as underscores (_) and percentage (%) symbols can be used to enhance your queries in the GeoResGlobe.
Percentage symbol (%)
The percentage symbol represents zero, one, or multiple characters. When you use the percentage symbol in a LIKE pattern, it matches any sequence of characters (including an empty sequence).
Underscore (_)
The underscore represents a single character. When you use an underscore in a LIKE pattern, it matches any single character.
Combining wildcards:
You can also combine the percentage symbol and underscore in a pattern to create more complex matches.
Here's how you can use wildcards in attribute queries with the LIKE operator:
| Operator | What does this query do? |
|---|---|
| a% | This query will find all values that start with "a". |
| %a | This query will find all values that end with "a". |
| %or% | This query will find all values that contain "or" in any position |
| _r% | This query will find all values where "r" is in the second position. |
| a__% | This query will find all values that start with "a" and are at least 3 characters long. |
| a%o | This query will find all values that start with "a" and end with "o". |
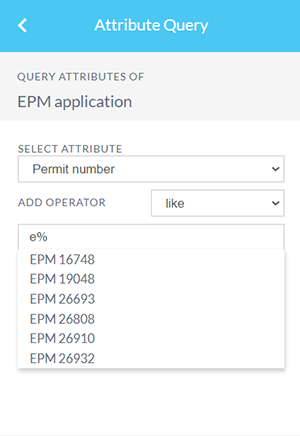
Known Limitations
Please be aware that sometimes, the drop-down of suggestions may not display the complete list of results. To view all results, select the Query Layer option.
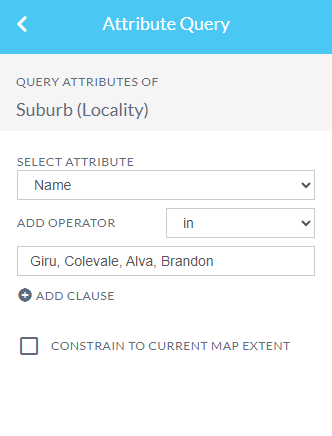
Query using the IN operator
The IN operator in a query allows you to filter data based on multiple specified values. In GeoResGlobe, you can use this operator to query a layer by following these steps:
- Add a layer (e.g. Locality)
- Expand the layer details and select Query layer attributes, find the Name attribute from the list of available attributes.
- Choose the IN operator
- Enter a list of locality names separated by commas.
- Click the Query Layer to initiate the query. Select to view the available results.
The query will then return the features from the Locality layer that match the specified locality names. This is a useful way to filter data and focus on specific areas of interest within layers in GeoResGlobe.
Add or remove clauses
Multiple clauses can be added or removed to refine the results returned from the query.
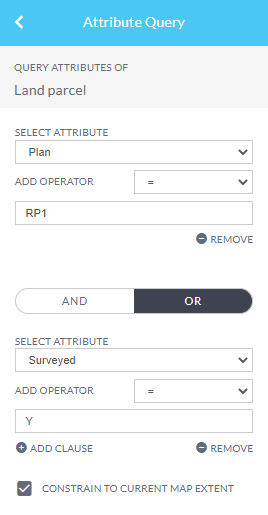
Constrain to current map extent
Additionally, you can select the checkbox to constrain the query to the current map extent. If left unchecked the query will run on the entire dataset. This option is particular useful for datasets that will return a large number of results (e.g. Land parcel) or where they can't be refined by using additional clauses.

Results table
There are many ways to populate the Results table including running a:
- Search
- Identify
- Attribute query or
- Spatial query
For instruction on these methods, refer to these resources:
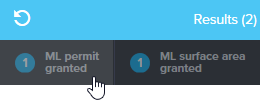
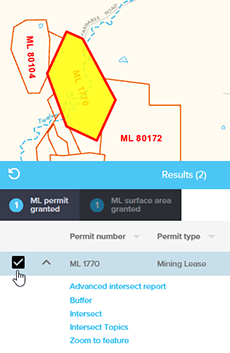
For this example, follow the steps above to perform an All current permits search. When the search is complete tabs will appear for each layer that returned a result (in this example, ML permit granted and ML surface area granted). Click on your required tab.
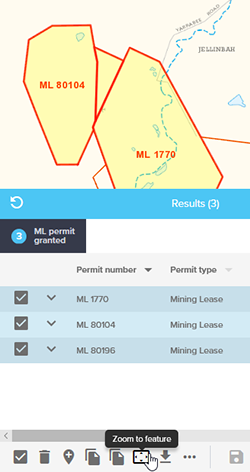
Click the down arrow next to your chosen record and then click Zoom to feature.
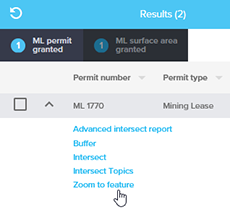
If required, click on the checkbox next to your chosen record to highlight it on the map.
If you have multiple records you wish to zoom to, select the necessary checkboxes, and then click Zoom to feature at the bottom of the table. Note you can select all records by clicking the checkbox at the bottom of the table.
The Results table can also be populated by using the identify tool, or performing a query. For more information on these methods, consult the following documentation and video tutorials:
Filter table results
When viewing records in the results table, you may want to refine the data further based on certain attributes. This can be done using the Filter tool.
First, follow the instructions above to run a search or query to return some results to the table.
Click the filter button (top left) in the results table
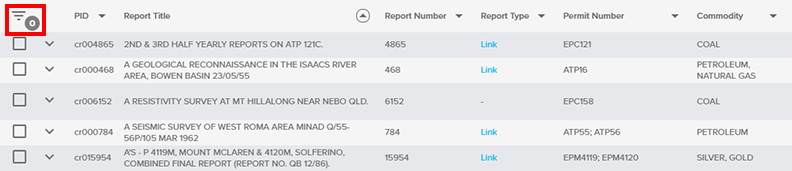
A popup window will display where you can select the options you would like to filter by. Click the drop down arrows to select the LAYER, FIELD and OPERTATOR you would like to use. Then enter a VALUE to filter on.
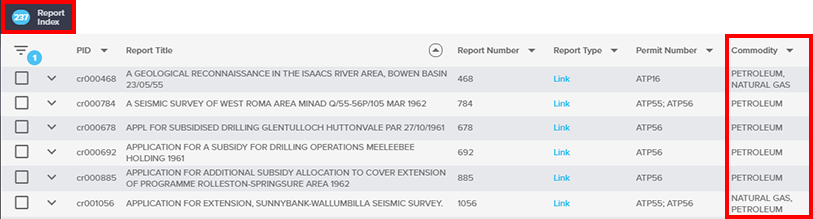
In this example the Report Index layer is being filtered by the commodity field for any records which contain the word “Petroleum”.
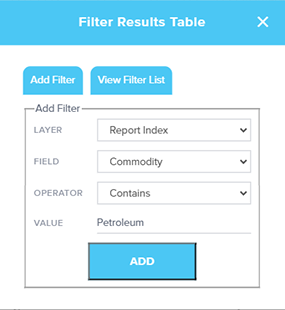
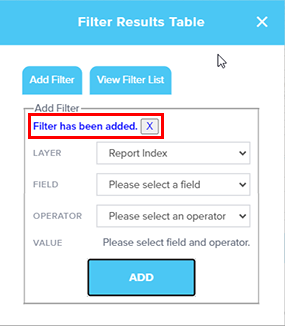
Click add to apply the filter to the results table. Once complete, a notification will display to advise that the filter has been applied.
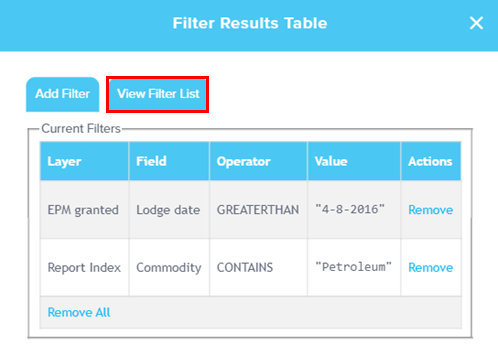
Click on View Filter List to view filters that have been applied or remove any that are unwanted.
You can now close the filter window and return to the results table.
The results table will display the filtered results within the selected area and the number of filters that have been applied will appear beside the filter button.
The filter will remain active until a new search is run or it is removed through the Filter tool.
Please note: the data is only filtered in the results table. The map display will not be altered by this filter.
Query layers intersecting a feature or a place
Places → Query layers using this place:
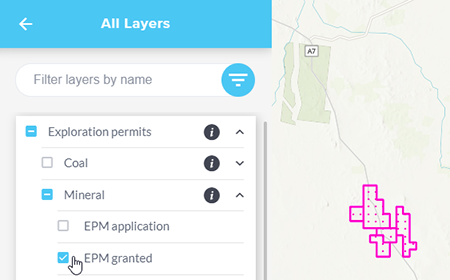
Turn on your layer of interest.
Using the Layers tab on the left hand side menu bar, click on Add layers

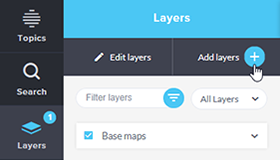
Add one or many layers and/or any of their related layers.
Once layers are turned on you can then draw an area of interest on the screen using the drawing tools.
Results table → Tab → Drop list → Intersect
This feature action will allow you to query any intersecting layers – e.g. if you choose ML 1 and would like to see what constrained lands this overlaps or abuts with then choose Intersect from the drop down menu.
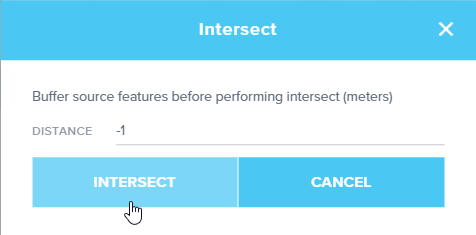
After you click the intersect action, a dialog box appears where you can choose your distance.
- a negative number finds intersects within the area only and not abutting
- a zero amount finds intersects within the area including abuttals
- and a positive integer is the distance in metres surrounding ML 1
Query using a place
Data layers can also be queried based on the extent of a place. A place can be added via multiple different methods, for more information refer to Places.
For the purpose of this example a drawn place will be used.
Once all of the layers you wish to investigate have been added, draw an area, line or point of interest on the screen using the drawing tools.
Please note that the query will take into account the buffer set for that place.
Click on the arrow to the right of the place name to expand and view the available options.
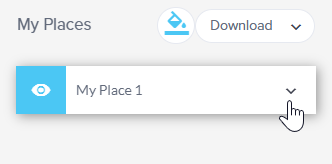
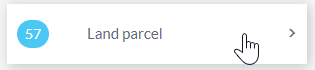
Selecting Query layers using this place will open up the Layers panel and display a listing of all of the layers that fall within the extent of this place.
The count of available results for each layer is displayed to the left of the layer name.

Click on a layer of interest to review the query outputs in the Features table.
Results can be downloaded into shp, kml, json or csv file format or added as places.

If a feature is selected from the list it will highlight the feature on the map and display its attributes.


For further information on interacting with the results table, refer to the searching and querying data tutorial video.