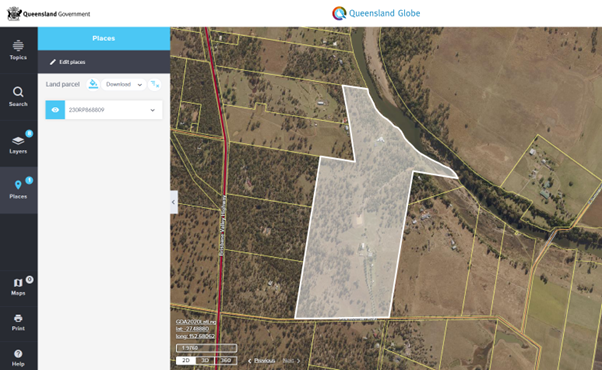
Places
Places can include saved search results or places of interest created using the toolbar during a session.
There are many ways to create and use places.
- The results from the search panel can be added to places
- You can also create places using tools in the toolbar:
- Identify
- Coordinate
- Drawing tools
- Display the results of querying a layer
- Group places
- Open Google Street View
Places gives users the ability to customise the map outside the context of existing layers.
They can be saved to a map, incorporated within a print, exported to an ArcGIS Online map, or downloaded to SHP, KML, JSON or CSV.
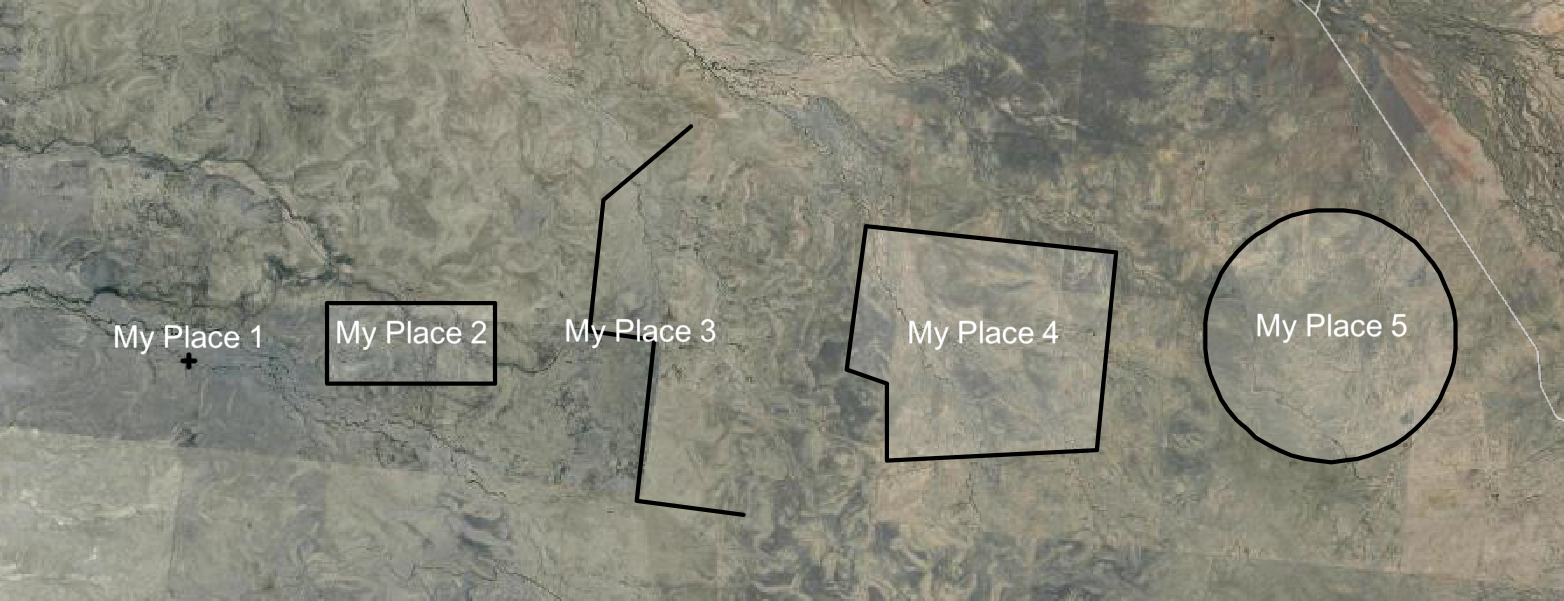
Add label to map
A label can be added for most place types. The only exception is text places.
To add a label to a place
- Select Places from the side bar to open the Places panel.
- Expand the place and select the Add label to map check box.
- The label will reflect the name given to the place and will be positioned at the centroid of the place.
- Additional options are provided once the Add label to map option has been selected to adjust the colour, font, weight and size of the label.


To remove a label from a place
- Select Places from the side bar to open the Places panel.
- Expand the place and deselect the Add label to map check box.

Label offset
When a label has been added to a place using the Add Label to Map tool, the label is added at the centroid of the place by default.
The position of the label can be adjusted in 2D mode using the Offset (px) tool.
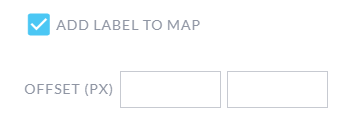
The first value will move the label in the x-direction and the second will move the label in the y-direction. Positive and negative values can be entered into either box.
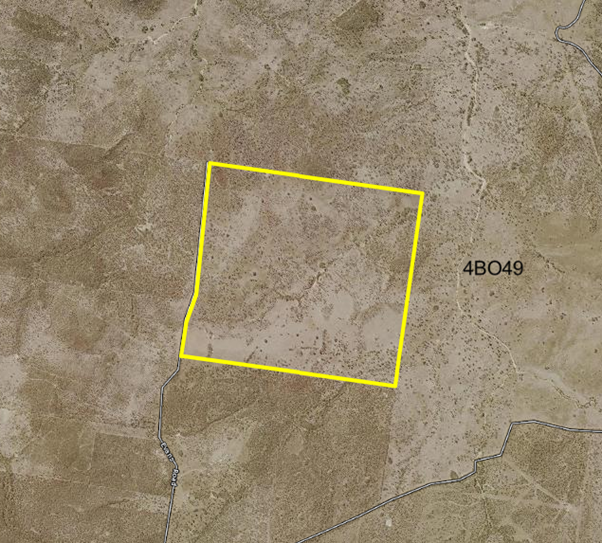
If the label offset values are left blank, the label is applied to the centroid of the place (default setting).

When a label offset value is entered in the box on the left it will move the label in the x-direction only.
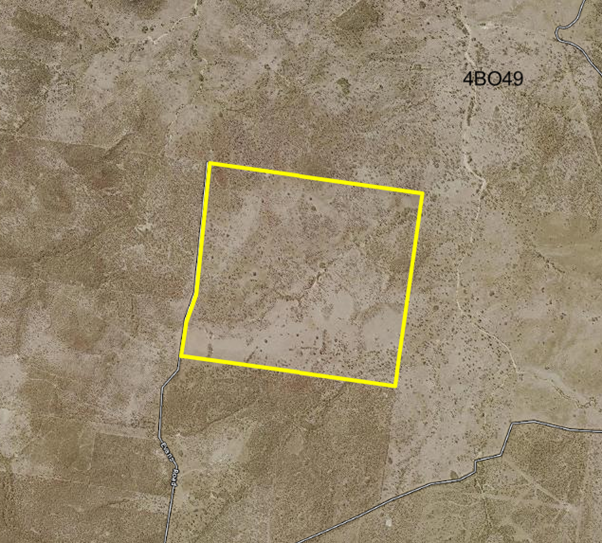
When a label offset value is entered in the box on the right it will move the label in the y-direction only.

When a label offset value is added in both the x-direction and the y-direction.
Is a pixel a unit of measurement?
Pixels, abbreviated as "px", are also a unit of measurement commonly used in graphic and web design.
The physical size of a pixel varies, depending on the resolution of the display. It will equal the size of the dot point if the display is set to its maximum resolution and will be larger if the resolution is lower since each pixel will use more dots.
How to group places
Grouping your places allows you to edit the basic symbology and clearly identify relationships between places you have created or added.
Grouping your places prior to downloading them allows the group name to be used within the name of the file downloaded.
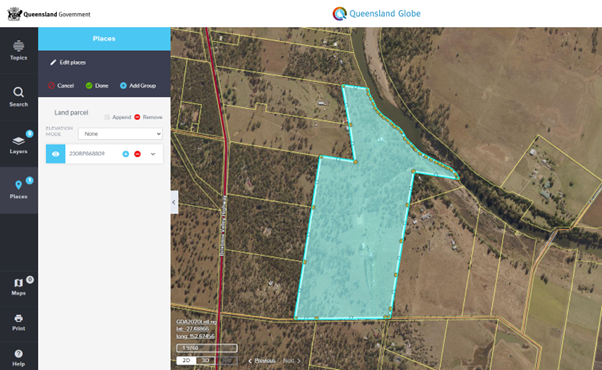
Add a group
Create the drawn places and added places from the search or identify tools that you would like to group. Follow these steps to create a group and append these places to the new group.
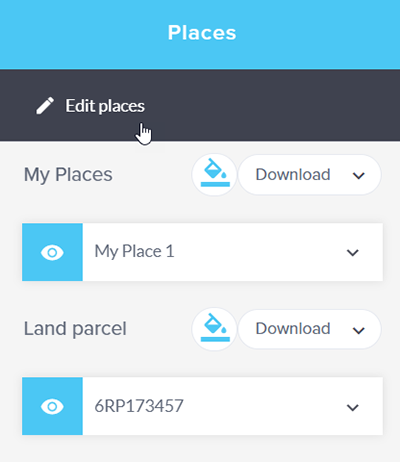
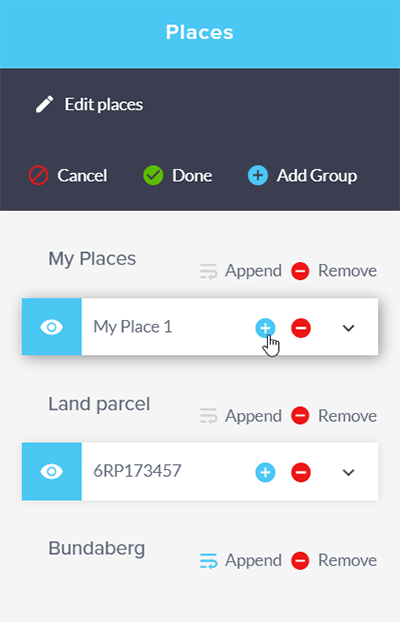
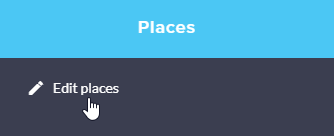
- With Places open, select Edit places.
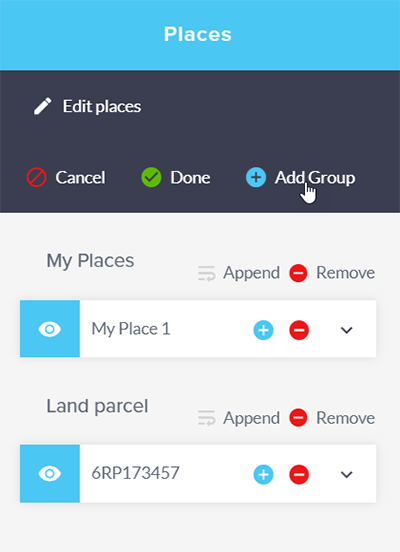
- This allows you to now Add Group.
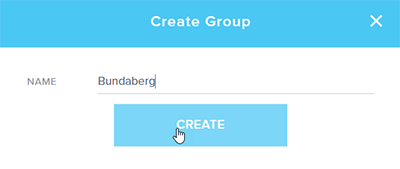
- Give the group a name and select CREATE.
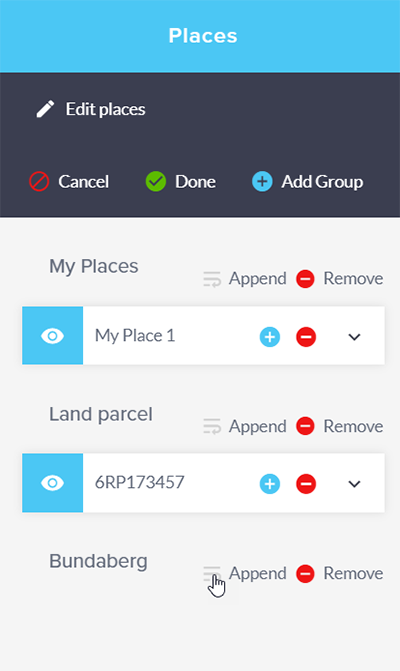
- To add your places to the group you need to turn on the Append within the Group.
- Click on the plus button of a place to add to the group.
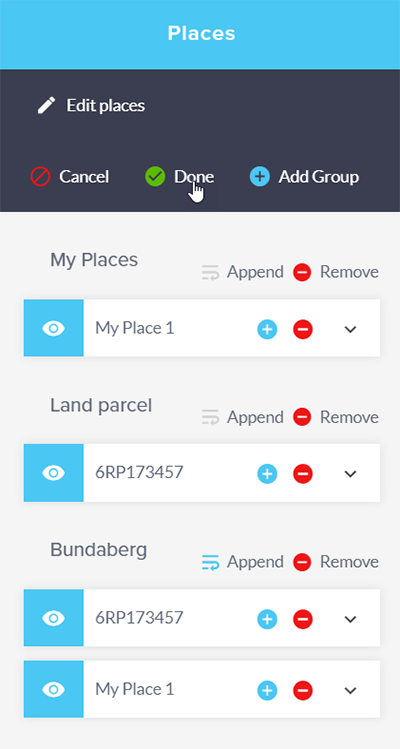
- When all places have been added to the group click on Done.
Group symbology
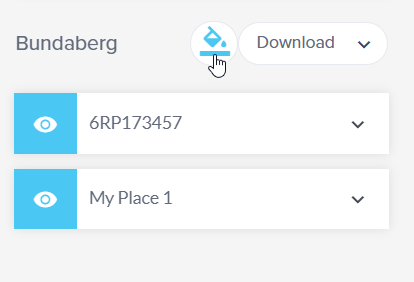
- To edit the group symbology click on the paint bucket button.
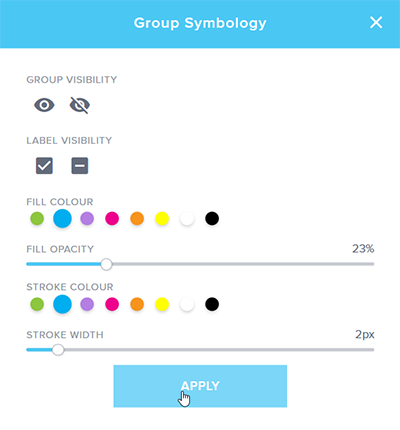
- The Group Symbology tool allows you to:
- Set the visibility of the places within a group as visible or invisible.
- Show or hide a label for all places within a group.
- Adjust the symbology for all places within a group. Please note: This will overide symbology applied to individual places.
- When in 3D or 360 mode, the Group symbology tool provides the ability to enable or disable extrusions, see Extrude by group for more information.
- Select Apply for the changes to come into effect.
Group and label visibility
Within the group symbology panel, there is also the option to add a label to each place or change the visibility setting for the group of places as a whole. Select the required setting and select Apply.
| Description | Active icon within the Group Symbology tool |
|---|---|
| Adds a label to all of the places in a group. | 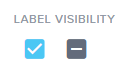 |
| Removes the label for all of the places in a group. | 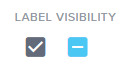 |
| Changes all of the places in a group to visible. | 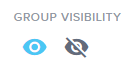 |
| Changes all of the places in a group to invisible. |  |
Google street view
Where an added place and Google street view availability coincide, you can choose to view the location of your place in Google street view.
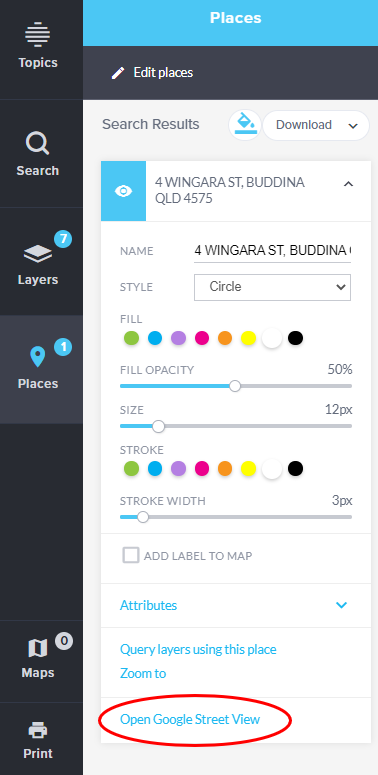
How to get to street view on GeoResGlobe?
- Search a street address, then add as a place or create a place marker using drawing tool on the map.
- Expand the place to view the available options.
- Select Open Google Street View, this will open in a new browser window.
Note: Google Street View will not work for a line place.
Sort places
The Sort Places toggle within GeoResGlobe allows users to easily customise the sorting order of places in the Places panel based on their preferences. It's a convenient feature for organising and accessing places within the application. The ability to sort places in ascending (A-Z), descending (Z-A), and returning to the original order is a user-friendly way to help users find and manage their places more efficiently.
If you have added places to a group, the sort places toggle button will be available for each group instance.
Edit places
The editing capability for the geometry of places, initially limited to 2D locations, has now been expanded to include 3D places. Once a place is added to the Places panel, you can modify its geometry in both 2D and 3D modes.
- Open the Places panel, select Edit places then click on the place you wish to edit.
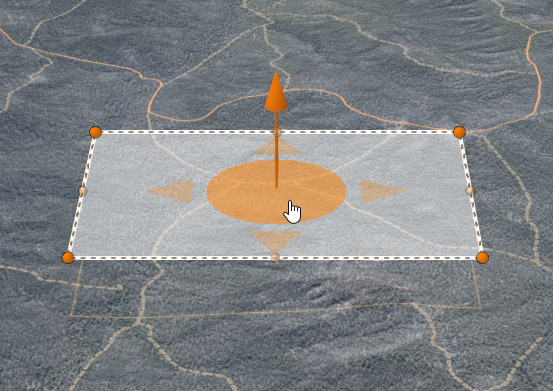
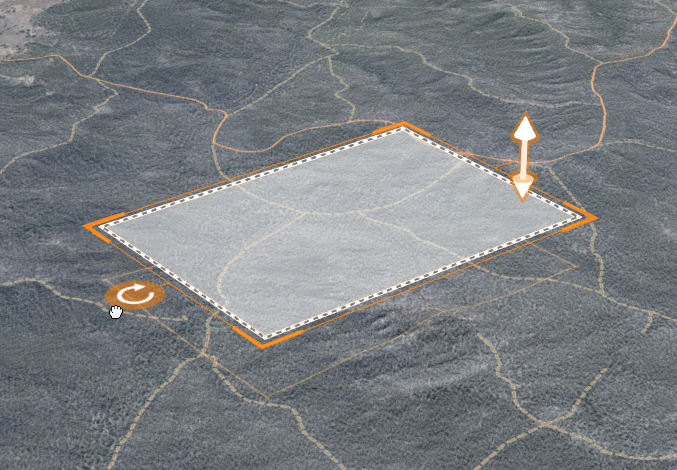
- If editing a 3D place, a set of editing tools are now available for use. These tools may include move, resize, reshape or rotate.
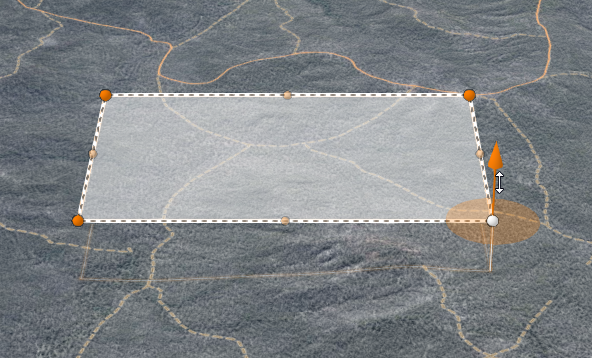
- If individual vertices are selected, these can be adjusted independently also.
- Depending on the type of feature and the available editing tools, you can edit the geometry of the selected feature in various ways. This may involve adjusting the height of the place as a whole, dragging vertices (x, y, z), adding new vertices, or reshaping the feature as needed.
- After making the desired edits, select Done to confirm and save your changes. This updates the geometry of the place with your edits.
- Alternatively, select Cancel to discard the changes you've made. This action will revert the place to its previous state.
Limitations observed when editing places
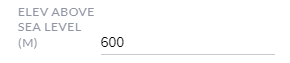
- If you change the height of specific vertices of a 3D place, those changes can be undone if you make any modifications to the other details like renaming, changing the style, altering the colour, or adding a label. The height of the 3D place will be reset to the height specified as the elevation above sea level.
- Editing places is not supported in 360 mode.
- 2D features are captured as On the ground and do not have the absolute height value. The elevation mode of 2D places can be altered but no height can be specified.
Deleting Vertices
- To delete vertices, either left-click on the orange vertex that is to be removed and then use the delete key, or right-click on the vertices you wish to remove.
- Editing the vertices is possible when the selected place displays as above. If you left-click on the place again, it will display options to rotate, skew, or resize the place.
- Select ‘Done’ to accept the changes to the place.

Places Download: Projection & Datum Transformation
The Set Projection menu allows you to choose the output coordinate system for any Places downloaded in SHP & CSV format.
When a user selects:

GeoResGlobe will reproject the coordinates into that system at export time.
The projection of kml/json is always WGS84
