Maps
Creating a map within the GeoResGlobe ensures that all of the display settings, such as added Layers, custom map objects created as Places, the map extent and view mode can be saved and available to share for collaboration purposes or for personal use at a later date.
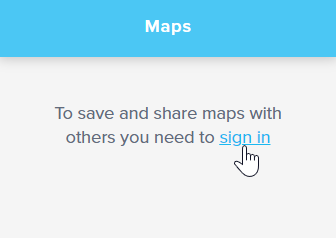
To create a new map or save changes to an existing map, you will be required to login to the GeoResGlobe with an existing account.
Your GeoResGlobe login will enable you to save maps that are up to 10MB in size and limit of 100 saved maps per account.
Once saved, these maps can then be:
- Shared directly with a URL or through different media platforms
- Exported to ArcGIS Online
Private saved maps are retained indefinitely to the account they are saved to, whereas publicly shared map links have an expiry period of 30 days.
Save a map
To create a new map
Use this option to save a new map.
- Login to an account of your choice, from the available providers.
- Add layers to your map and incorporate places as required.
- Specify the view mode (2D, 3D or 360).
- Define the map extent by zooming to you area of interest in the map view. When the map is launched in the future it will zoom to this extent.
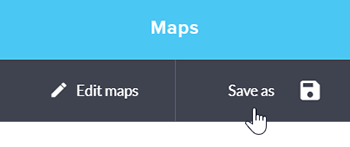
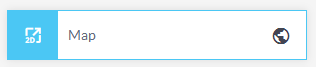
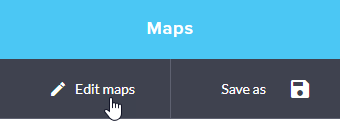
- Click on Maps in the sidebar.
- If you have not logged in by this point you will be prompted to do so before proceeding any further.
- Once you have logged in, the Map count will adjust to display the number of maps that you have saved to that account and your user name will replace the login button. If you have previously saved maps to your account, these will appear in the map panel.
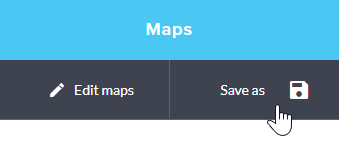
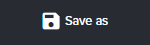
- Click Save as to save the current map settings, as displayed in the map view.
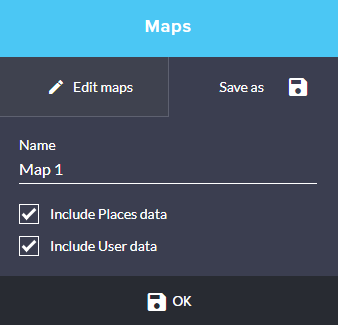
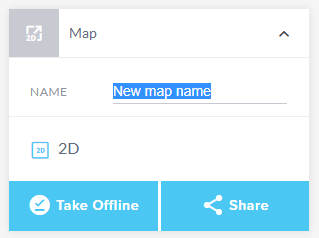
- Enter a new map name. If this is left blank, the saved map will be given the default name of Map.
- By default, your saved map will include any user added data (layers added using the Add My Data tool) or places data, unless you choose to exclude either of these from your saved map by deselecting the checkbox at this point.
- Click OK to save.
- The new map will be added to the top of your list of saved maps. As it is now set as the active map it will be highlighted blue.

Save a shared map to an account
To save a shared map to an account
Use this option if you have received a shared map link and wish to save it to one of your accounts. Once the map is added to your account it will remain there until you choose to remove it. As shared map links are only available for 30 days, this allows you to retain a map if you need to access it for a longer period of time.
- Login to an account of your choice, from the available providers.
- Open the shared map link.
- Select the Maps button to open the maps panel.
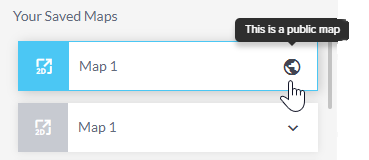
- The shared map will appear at the top of the list of maps. Hovering over the globe icon will indicate that this is a public map.
- To save the public map to your account, select Save as.
- The name of the map can be changed at this point (optional).
- Select OK to save the publicly shared map to your account.
- The map will now be added to your account and will remain there until you chose to remove it.

Open a saved map
To open a saved map
- Login to an account of your choice, from the available providers.
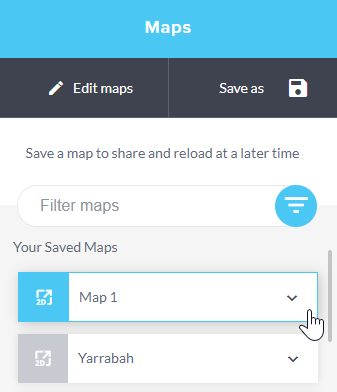
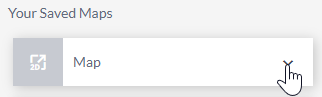
- Select the Maps button to open the maps panel.
- Scroll the list of maps that have been saved to your account to find the map that you wish to open. The filter can also be used if the map name is known.
- The Open icon to the left of the map name is indicative of the view mode that the map has been saved in (i.e. 2D, 3D or 360). Clicking on the icon will open the map and make it the active map.
- If this icon is grey, this indicates that it is a map that has been saved to the account you are currently logged in with, but it is not the active map.
- If the icon is blue, this indicates that the open icon has been selected for this map and it is now the current active map displayed in the map view.
- If the icon is orange, this indicates that edits have been made to the active map but they have not yet been saved. See Edit a saved map for more information on editing a saved map.
- If the icon is blue, but there is a globe icon to the right of the map name, this indicates that the map is a shared link. See Share a map or Save a shared map to an account for more information on shared maps.


Edit a saved map
Once you have opened a map, it can be edited further through the incorporation of additional layers or places.
If you wish to save any changes that have been made to an active map, this can be done by either overwriting the active map or saving a copy of the map with the changes applied.
Save changes to the active map
Use this option if you have edited the active map and you wish to save those changes by overwriting the active map.
- Open the Map panel, the currently active map will be highlighted orange to indicate that the map has been altered but these changes have not been saved yet.
- Select Save as
- The name of the map can be changed, if required.
- To save and overwrite the active map, select Save.
- Once it has been sucessfully saved, it will appear at the top of your saved maps list.


Save changes to the active map as a new map
Use this option if you wish to create a new copy of the map, if the active map has been edited these changes will be included in the new map. This option allows you to retain a copy of the original map.
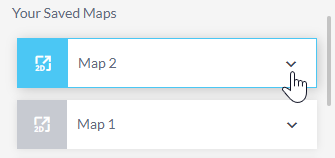
- Open the Map panel, the currently active map will be highlighted orange to indicate that the map has been altered but these changes have not been saved.
- Select Save as
- The name of the map can be changed, if required. Please note, multiple instances of the same map name can be used.
- To save a new copy of the map, select Save as.
- Once it has been sucessfully saved, the new map will appear at the top of your saved maps list. The original map will be listed below it.
Rename a map
While the name of a map can be changed when saving a map, you can also change the name of an existing map without having to re-save it. Any of the maps in your list can be renamed, the map does not have to be the active map to do so.
- Expand the map you wish to rename.
- Click in the name field and adjust the name of your map, then select the Enter key or click on the map.
- The name of your map will change accordingly.

Remove saved maps (data)
Maps can be removed from your saved maps list.
Please note: The number of maps saved in each credential account is persisted among different types of browsers (Chrome, Edge and Firefox), once maps have been deleted, they are not retrievable.
To remove saved maps (data)
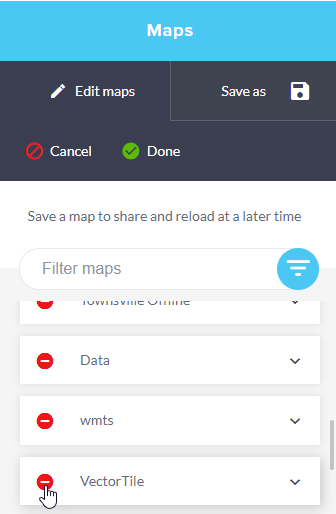
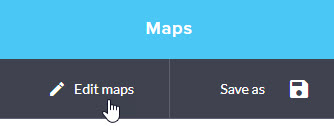
- Open the Maps panel and select Edit maps button.
- Each of your saved maps will have a Delete (-) icon displayed. Click the Delete (-) icon next to the maps you are selecting it for deletion.
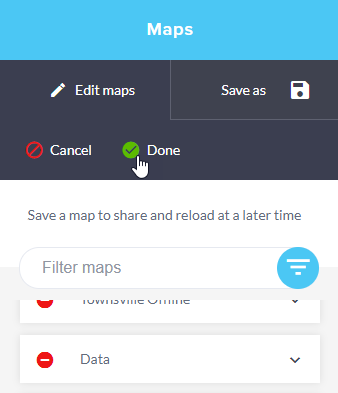
- Click Done when ready to remove maps permanently or click Cancel to discard changes made.
Share a map
Sharing a map that you have saved to your account can be done using the share feature. A shared map link can be generated from any of the maps saved to your account, the map you wish to share does not have to be the active map.
To create a shared map link
- Open the Maps panel and scroll to the map you wish to share.
- Expand the map to view the available options.
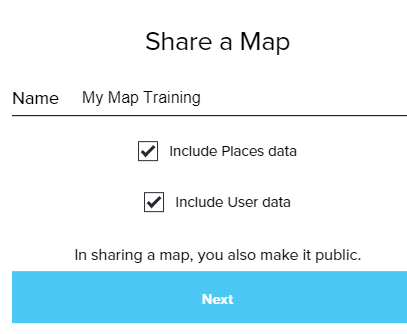
- Select the Share button.
- You can customise the shared map name or choose to include or exclude your places and/or user data (if applicable) when you create a shared map link.
- The map extent and view mode will be retained when you share your map.
- Clicking Next will display the URL of your saved map.
- You can share your map and data via email, Facebook, Twitter or copy the URL and share as desired.
- Please note: The link for your shared map will expire after 30 days. A saved map will remain under the account used to generate it indefinitely, until you choose to remove it. Re-sharing the map can be done but the URL generated will have a unique identifier for each time it is shared.


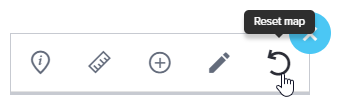
Reset a map
To reset an active map
- Expand the toolbar and select the Reset Map option.
- If a saved map has been opened and this option is selected, the map will reset any changes made since the last time it was saved.
- If a map has not been opened, then this option will reset the map to the default layers.
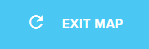
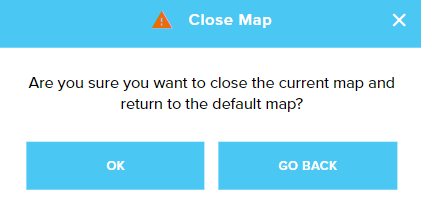
Alternate options to undo changes made to an active map
- Select another map and make it active.
- Click on the orange highlighted icon within the maps panel, this will reload the map.
- Select the following button to close the current active map and return to the default map.
- Confirm that you wish to return to the default map by selecting OK.
Sort maps
The Sort Maps toggle within GeoResGlobe allows users to easily customise the sorting order of maps in the Maps panel based on their preferences. It's a convenient feature for organising and accessing maps within the application. The ability to sort maps in ascending (A-Z), descending (Z-A), and returning to the original order is a user-friendly way to help users find and manage their maps more efficiently.
When folders exist in the Maps panel, activating the Sort Maps toggle will organise maps within the Your saved maps section and also arrange folders. It's important to note that the maps contained within a folder will not undergo sorting.
Creating and using folders
Now you can organise your maps in the GeoResGlobe Map section by putting them into folders. This helps you group maps based on projects or themes. You can easily move maps in and out of folders as needed.
Things to be remember:
- Folders cannot be used on mobile phones.
Folder behaviour:
- If folder does not contain a map, it will be automatically deleted when you exiting edit mode.
- Deleting a folder will delete all the maps inside it.
Map behaviour inside a folder:
- Map filters don't work on maps in a folder.
- Sorting of maps doesn't work in a folder.
- Deleting a folder will delete all the maps inside it.
- If you edit a map inside a folder, you won't see the usual signs like the colour changing from blue to orange, and the (edited) tag won't be added to the map.
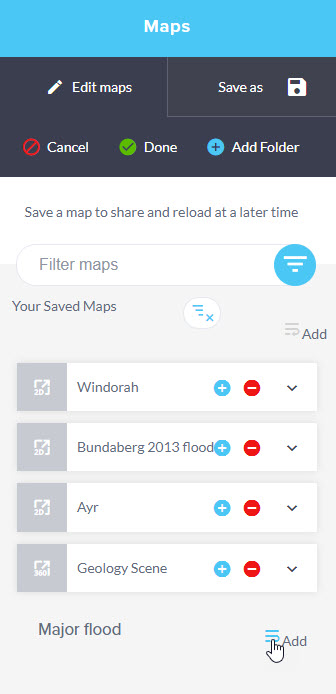
Adding a folder
- Open the Maps panel and select the Edit maps button.
- Click on Add Folder.
- Enter the desired name for the folder and select create.
- Your new folder will appear at the bottom of you map list.
Add a map to a folder
- Open the Maps panel and select the Edit maps button.
- Scroll down to your new folder and click on Add.
- Your maps will now have a blue Plus sign button.
- Choose a map and click on the Plus sign.
- The selected map will move to your folder.
- Once you have moved your maps, select Done.
Note if you select Cancel the maps will move out of the folder and the Folder will be deleted
Moving a map out of a folder
To move a map out of a folder is the same process as adding a map to a folder. If you use the red Minus sign button, you are deleting the map.
- Open the Maps panel and select Edit maps button.
- Select Add at the top of your list of maps.
- Scroll down to you folder.
- Choose a map and click on the Plus sign button.
- Your map is moved back to the main list.
- Once you have moved your maps select Done.
Removing a folder
- Open the Maps panel and select Edit maps button.
- Scroll down to find the folder you want to get rid of.
- Click on the red Minus sign button next to remove.
- A warning message will pop up
- If you're sure you want to delete both the folder and maps, click the YES button.
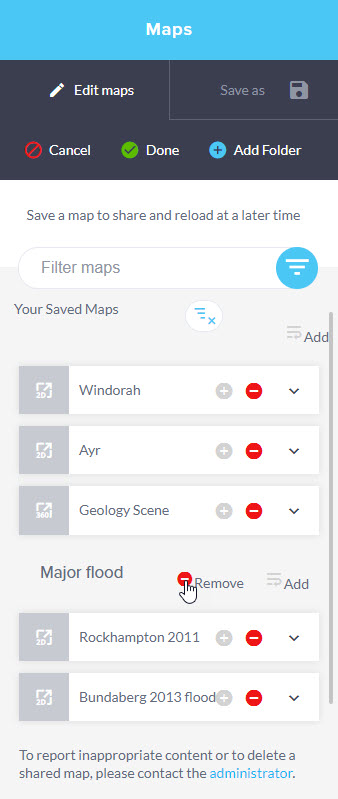
Note: Choosing YES will permanently delete the folder and maps, and clicking the Cancel button won't undo this action.
Export map to ArcGIS Online
While various functions within the GeoResGlobe allow the distribution of information such as printing, sharing a map and taking data off-line, the "Export Map to ArcGIS Online" feature is disabled.
The GeoResGlobe application contains SENSITIVE data only accessible to Authorised Users. The sensitive data is accessed from secured web services that clients can’t access outside GeoResGlobe. If a user were to export a GeoResGlobe map containing secured web services they would be prompted to provide credentials (username and password) into ArcGIS Online.
The decision to disable this function aims to avoid the inconvenience to users and prevent frustration in not being able to log into these services outside of GeoResGlobe.

Print a map
Another way to create a map and include your custom map objects is through Print.
The Print functionality does not require you to be logged in for use.
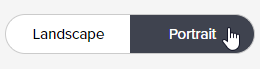
When you choose to Print, a new browser tab will open. Within the Print preview you will be provided with the options to specify:
- Page orientation
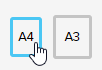
- Page size (A3 or A4)
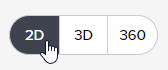
- Viewing mode
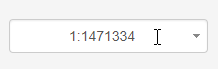
- Map scale can be specified (2D only) by typing your scale and pressing Enter or clicking away
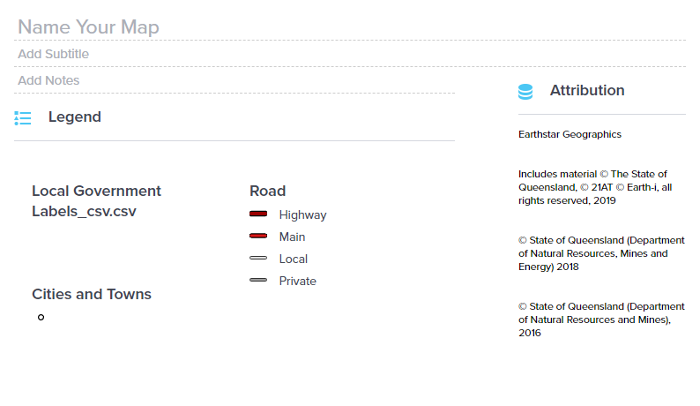
- You can name your map and also include a subtitle to provide more detail.
- The coordinate value displayed in each corner can be toggled between Lat/Long and MGA.
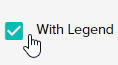
- The legend is included when the checkbox is selected.
- If this is selected, the legend will be included on the back of the print, which will also incorporate attribution and any further notes you want to include.
- The options provided in the bottom left hand corner allow you to toggle between the Map Preview and the Additional Data. The Additional data view will let you add notes, outline the headings, legend and disclaimers. The Additional data page will print on a separate page to your map.
- If you need to refine the map you can enable the zoom controls within the Print preview by clicking the lock and altering the map as required. Once satisfied, click again to lock the map extent.
- When you are ready, choose Print to and select which output you would prefer. Printing to PDF will allow you to print or easily email your map. Alternatively printing to a PNG format will allow you to insert your map as a picture. Both the map and the additional data page will be included.
 or by selecting an option available in the dropdown menu


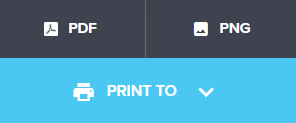
Once your file has generated, choose to print a hardcopy version or save an electronic copy which should appear in your downloads folder.
To return to your Globe map, close the GeoResGlobe Print browser window.
Use these options to customise your print. These print templates have been designed to adhere to our mapping guidelines.